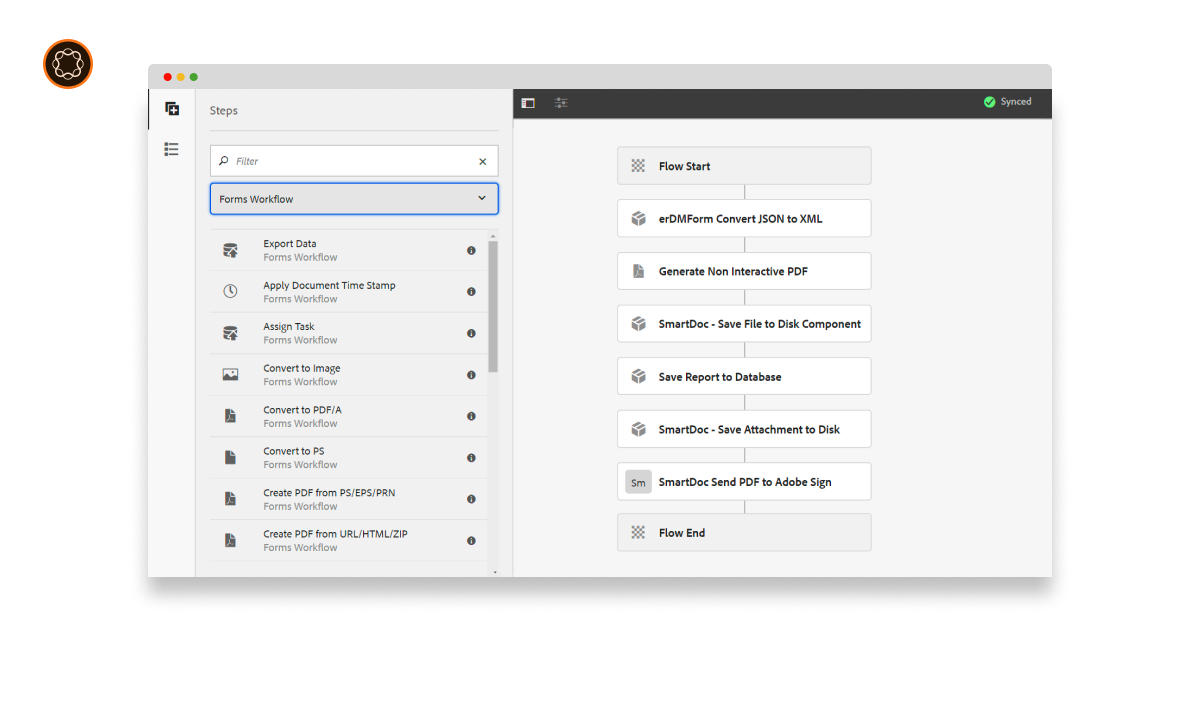
A “Launch” in Adobe Experience Manager (AEM) is a way to create and manage a copy of a page or a set of pages, allowing for changes and edits without impacting the live version. When these changes are complete, they can be promoted to the live environment. Workflows in AEM automate sequences of work, enhancing efficiency. Together, a Launch with a Workflow allows changes to be made, reviewed, and approved before they are published. This guide will walk you through the process of creating a Launch with a Workflow in AEM.
Key Takeaways
- A Launch in AEM is a copy of a page or set of pages used for making changes without affecting the live version.
- A Workflow in AEM is a series of automated tasks.
- Creating a Launch with a Workflow in AEM involves creating the launch, associating it with a workflow, and starting the workflow.
- Understanding this process can enhance your content management capabilities in AEM.
Understanding Launches and Workflows in AEM
A Launch in AEM is created when you want to make changes to a set of pages without affecting the live environment. Once the changes are made and approved, they can be promoted to the live environment.
A Workflow in AEM is a sequence of steps or tasks that are executed in a specific order. Workflows can automate processes like content review, page activation, or other multi-step processes.

Creating a Launch in AEM
To create a Launch in AEM, follow these steps:
- Navigate to Websites Console: From the AEM start page, go to “Sites”.
- Select Page: Navigate to the page you want to create a Launch for and select it.
- Create Launch: Click on “Create” > “Create Launch”. Fill in the required details in the Create Launch wizard and click on “Create”.
Associating a Launch with a Workflow
Once the Launch is created, you need to associate it with a Workflow:
- Select Launch: In the Websites console, navigate to the Launches tab and select the Launch you created.
- Associate Workflow: Click on “Timeline” > “Add Workflow”. In the Add Workflow dialog, select the desired Workflow model and click on “Start”.
Starting the Workflow
After associating the Launch with a Workflow, you can start the Workflow:
- Select Launch: In the Websites console, navigate to the Launches tab and select the Launch.
- Start Workflow: Click on “Timeline” > “Workflows” and select the associated Workflow. Click on “Start Workflow”.
Making Changes in the Launch
You can now make changes in the Launch:
- Select Launch: In the Websites console, navigate to the Launches tab and select the Launch.
- Edit Content: Click on “Open” to open the Launch in a new tab. Here, you can edit the content as needed.
Reviewing and Approving Changes
Once the changes are made, they can be reviewed and approved as part of the Workflow:
- Navigate to Inbox: From the AEM start page, go to “Inbox”.
- Review Changes: In the Inbox, you will see tasks related to your Workflow. Review the changes as per the tasks.
- Approve Changes: After reviewing, you can approve the changes by completing the tasks.
Promoting Changes to Live Environment
After the changes are approved, they can be promoted to the live environment:
- Select Launch: In the Websites console, navigate to the Launches tab and select the Launch.
- Promote Changes: Click on “Promote” to promote the changes to the live environment.
Conclusion
Creating a Launch with a Workflow in AEM is a powerful way to manage changes to your website. By understanding Launches and Workflows, creating a Launch, associating it with a Workflow, starting the Workflow, making changes, reviewing and approving them, and promoting them to the live environment, you can effectively manage your website’s content. This process ensures that all changes are properly reviewed and approved before they go live, enhancing the quality of your website.

I’m Kirill Efimov, an experienced AEM developer with over 10 years of experience in Java and web development. I’m skilled in developing AEM components, templates, workflows, and integrations with other systems, and I’m passionate about delivering high-quality solutions to my clients.
I also believe in knowledge-sharing and staying up-to-date with the latest developments in the industry. Through blog posts, tutorials, and speaking engagements, I’m committed to contributing to the AEM community and helping others overcome the challenges they may face in their AEM projects.